2026 How to Install Suspended Ceiling Grid Parts Efficiently?
Installing Suspended Ceiling Grid Parts can seem daunting, yet it holds significant value in modern architecture. Expert Robert Jenkins, a veteran in ceiling design, once said, “A well-installed suspended system can transform a space entirely.” His insight reflects the beauty and practicality of these structural components.
When approaching the installation, it’s essential to understand the parts involved. Each piece plays a critical role in supporting the ceiling tiles. However, it’s not uncommon for installers to overlook specific details. It is easy to become frustrated, particularly with odd angles or varying room dimensions. An inefficient setup can lead to misalignments and instability.
Attention to precision is crucial. Each grid part must fit perfectly to ensure a seamless look. This task can be more challenging than it appears. The installation process may require adjustments and a steady hand. Rushing through can lead to poor results. Reflect on every step, and remember: patience drives success in installing Suspended Ceiling Grid Parts.

Understanding the Components of Suspended Ceiling Grid Systems
Suspended ceiling grid systems consist of several key components. Main runners run perpendicular to the ceiling joists. Cross tees connect to the main runners, creating a grid. These parts support the tiles. It’s important to measure the room accurately. An improper measurement can lead to mismatched grids and wasted materials.
Another crucial component is the wall angle. This is installed along the perimeter of the ceiling. It provides a stable edge for the grid. Consult the spacing guidelines when installing these angles. Too far apart may lead to sagging tiles. Sometimes, cutting the angles at precise lengths may be tricky.
Understanding these components makes installation easier. However, mistakes can happen. For example, misalignment of the grid system is common. Taking extra time on measurements can prevent this. Ensuring a level installation is essential. Discrepancies can affect the overall aesthetic. It’s essential to check and double-check your work.
Suspended Ceiling Grid Installation Components
This chart illustrates the quantity of each component required for the efficient installation of suspended ceiling grid systems. It provides a clear comparison of Main Runners, Cross Tees, Hangers, Grid Clips, and Wall Angles, which are essential for a successful ceiling installation project.
Preparing the Workspace for Efficient Ceiling Grid Installation
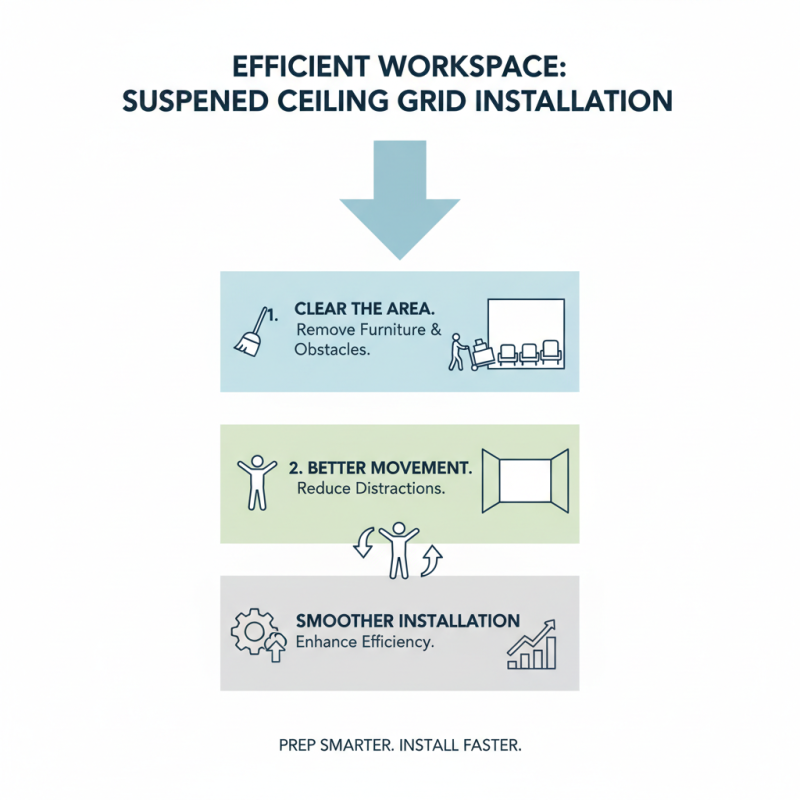
Creating an efficient workspace is crucial for installing suspended ceiling grid parts. Start by clearing the area. Remove any furniture or obstacles. A clean space allows for better movement and reduces distractions. This initial step can greatly affect the installation process.
Next, measure the ceiling accurately. Use a reliable measuring tool for precision. Mark the layout on the wall with a pencil. Ensure that these marks are level; an unlevel installation leads to more issues. Gather all necessary tools and components nearby. This minimizes trips for supplies, saving valuable time.
Lighting plays a vital role as well. Adequate lighting helps in seeing small details, which could make a difference. Consider using portable lights if the space is dim. Throughout the process, take breaks and reflect on the work done. Rushing can lead to errors, so stay focused and work at a steady pace.
Step-by-Step Guide to Installing Suspended Ceiling Grid Parts
Installing suspended ceiling grid parts can be straightforward if you follow a step-by-step approach. Begin by measuring your room's dimensions. Accurate measurements are crucial for a proper installation. Mark the locations of the ceiling grid on the walls to guide you. This ensures that everything aligns well.
Use a chalk line to create straight lines at the markings. This will help you visualize the layout. When installing the main runners, make sure they are level. A slightly uneven grid can lead to problems with the ceiling tiles later. It's helpful to have a friend assist you during this step. Two sets of hands can make adjustments easier.
Tips for installation include using a laser level for precision. This tool can save time and frustration. If you encounter obstacles, rethink your approach. Adapting to unforeseen issues is part of the process. Remember to communicate with your helper. Clear communication can prevent mistakes and enhance efficiency. Install the cross tees afterward, ensuring they fit snugly into the main runners. Every detail matters in this project.
Common Mistakes to Avoid During Ceiling Grid Installation
When installing a suspended ceiling grid, several common mistakes can lead to a frustrating experience. Many people overlook the importance of properly measuring the space. If the measurements are inaccurate, the grid may not fit correctly. Precision in planning is key. A slight error can result in uneven panels and gaps.
Another frequent issue is neglecting to check the level of the ceiling. If the support wires are not installed at the right height, the grid will not hang evenly. This can create an unsightly appearance and make installation even more challenging. A simple level tool can prevent this mistake.
Some installers also rush the process. They may forget to secure each component properly. Loose connections can cause panels to sag or shift over time. It’s crucial to take the time to ensure everything is tight and aligned. Reflecting on past experiences can help to avoid repeating these mistakes in future projects.
2026 How to Install Suspended Ceiling Grid Parts Efficiently? - Common Mistakes to Avoid During Ceiling Grid Installation
| Mistake |
Description |
Solution |
| Not Leveling the Grid |
Failure to ensure the grid is level can lead to an uneven ceiling, which is visually unappealing. |
Use a level when installing the grid and adjust as necessary before securing it in place. |
| Inadequate Measurements |
Incorrect measurements can result in panels that are too small or too large, requiring costly replacements. |
Always measure twice before cutting any materials to ensure accurate sizing. |
| Ignoring Support Requirements |
Not installing enough support wires can compromise the safety and integrity of the ceiling. |
Follow the manufacturer's guidelines for the number of support wires needed for the grid. |
| Poor Materials Quality |
Using subpar materials can lead to warping, bending, or breaking over time. |
Select high-quality materials to ensure durability and longevity of the ceiling. |
| Not Accounting for Lighting Fixtures |
Forgetting to plan for light fixtures can complicate final installation and wiring. |
Plan the layout and positioning of light fixtures in advance to accommodate them seamlessly. |
Tips for Ensuring a Level and Secure Ceiling Grid Setup
When installing a suspended ceiling grid, ensuring a level and secure setup is crucial. According to industry reports, a well-installed grid can enhance acoustic performance by up to 30%. This is vital in spaces like offices where noise control is essential.
Tip one: Before starting, use a laser level. It helps place the main beams at the correct height. Many installers skip this step, leading to an uneven grid. An unlevel grid can cause problems, such as sagging tiles over time.
Tip two: Secure the grid properly. Use the right hangers and support wires. For instance, tie wires should be spaced no more than four feet apart. This creates a stronger support structure. A weak installation may lead to costly repairs later.
Finally, take your time during the measuring process. It's easy to make mistakes, especially in measuring distances. Double-check everything. A small miscalculation can result in significant issues down the line. A careful approach ensures durability and functionality in your ceiling installation.