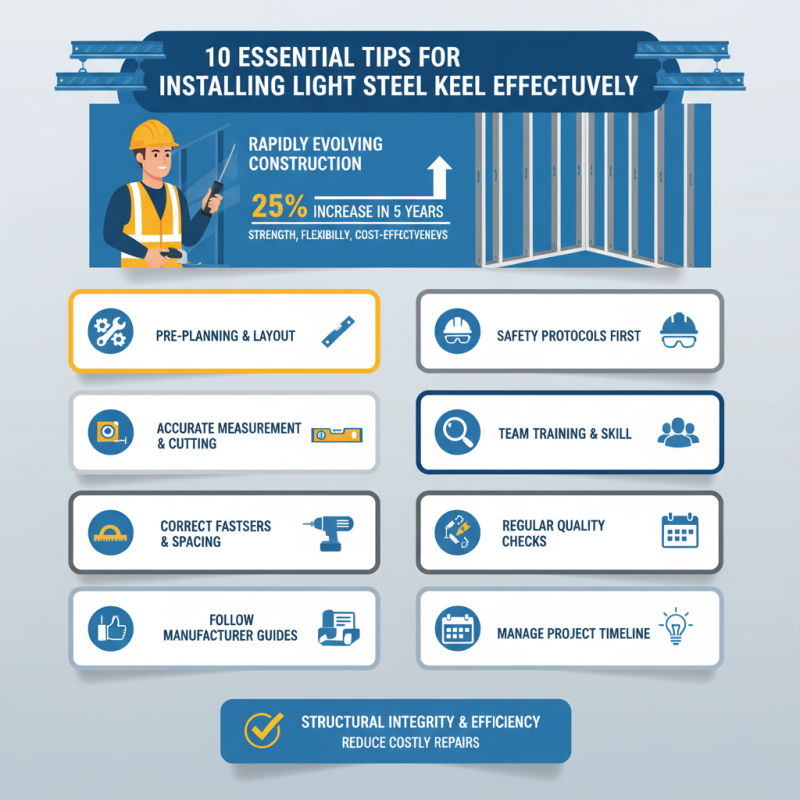
10 Essential Tips for Installing Light Steel Keel Effectively
In the rapidly evolving construction industry, the use of "Light Steel Keel" systems is gaining significant traction. According to a recent report by the Steel Construction Institute, the demand for lightweight steel structures has increased by 25% over the past five years. This rise is attributed to the material’s strength, flexibility, and cost-effectiveness. However, many contractors still face challenges during installation, which can impact project timelines and budgets.
Proper installation techniques are critical for maximizing the benefits of Light Steel Keel systems. Research indicates that poorly installed keels can lead to structural weaknesses, raising safety concerns. It’s essential to follow best practices to ensure durability and efficiency. Mistakes during installation can result in costly repairs, emphasizing the need for a thorough understanding of the process.
While there are many resources available, installers should continually seek improvement. Reflection on past projects can illuminate mistakes and uncover new strategies. Adopting a proactive approach will yield better outcomes. The following tips aim to guide contractors in navigating the complexities of Light Steel Keel installation, ensuring more successful projects.
Understanding Light Steel Keel and Its Applications
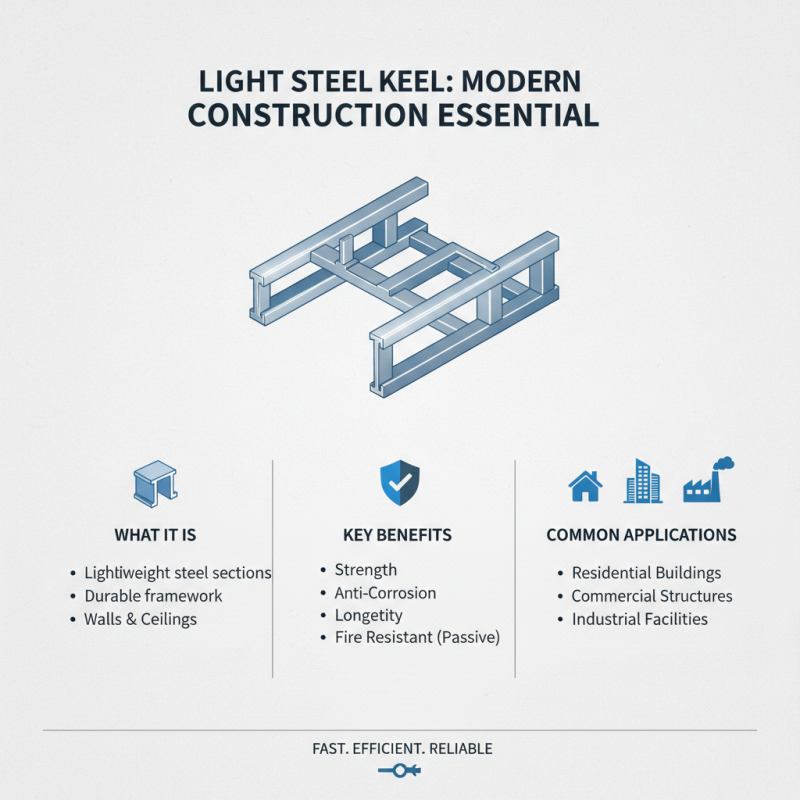
Light steel keel is a crucial component in modern construction. It involves using lightweight steel sections to create a durable framework for walls and ceilings. This material has become popular due to its strength and anti-corrosion properties. It is widely used in residential buildings, commercial structures, and industrial facilities.
When installing light steel keels, preparation is key. Measure your space precisely before cutting any materials. A small error can lead to significant issues later. Ensure that all tools are calibrated correctly. It's easy to overlook small details, but they can cost time and money.
During installation, make sure to work with a steady hand. Mistakes can mean starting over, which is frustrating. Follow safety protocols to avoid accidents. Use protective gear at all times. Keep the workspace organized to minimize risks. This will help maintain focus on the task at hand. Remember, each piece of the keel plays a vital role in the overall structure. Don't rush through the installation; take your time to ensure everything is fitted properly. Taking the right steps will lead to a successful outcome.
Preparing Your Workspace for Light Steel Keel Installation
Preparing your workspace for light steel keel installation is crucial for a smooth process. Studies show that a well-prepared environment can increase efficiency by up to 30%. Clearing the area of debris and ensuring good lighting are essential steps. A cluttered space can lead to accidents or delays, wasting valuable time and resources.
One effective tip is to gather all necessary tools beforehand. Keep screwdrivers, levels, and measuring tape within reach. This habit minimizes unnecessary trips to fetch items. Layout your materials in an organized manner. For instance, keep the steel keels and screws in dedicated bins to enhance accessibility.
Pay attention to floor stability. Uneven surfaces can compromise your structure's integrity. Use shims to adjust any discrepancies in the ground. Additionally, double-check your measurements before cutting or assembling. Mistakes at this stage can lead to costly rework. Remember, nothing beats taking the time to prepare correctly. Each minute spent organizing pays off during installation.
10 Essential Tips for Installing Light Steel Keel Effectively
| Tip Number |
Tip Description |
Tools Required |
Estimated Time |
| 1 |
Clear and Organize Your Workspace |
Broom, Trash Bags |
30 minutes |
| 2 |
Gather Necessary Materials |
Light Steel Keel, Screws, Anchors |
1 hour |
| 3 |
Measure and Mark Installation Points |
Measuring Tape, Marker |
45 minutes |
| 4 |
Check for Level and Plumb |
Level Tool |
30 minutes |
| 5 |
Pre-drill Holes for Anchors |
Drill, Drill Bits |
1 hour |
| 6 |
Install the Light Steel Keel |
Screwdriver, Wrench |
2 hours |
| 7 |
Use Proper Fasteners |
Screws, Clips |
15 minutes |
| 8 |
Check Stability of Installation |
Level Tool, Pressure |
30 minutes |
| 9 |
Install Acoustical Insulation (if needed) |
Insulation Material |
1 hour |
| 10 |
Final Inspection and Cleanup |
Cleaning Supplies |
30 minutes |
Essential Tools and Materials Needed for Installation
When installing light steel keels, having the right tools and materials is crucial. Essential tools include steel cutting saws, measuring tapes, and levels. These tools help achieve accuracy and ensure proper alignment.
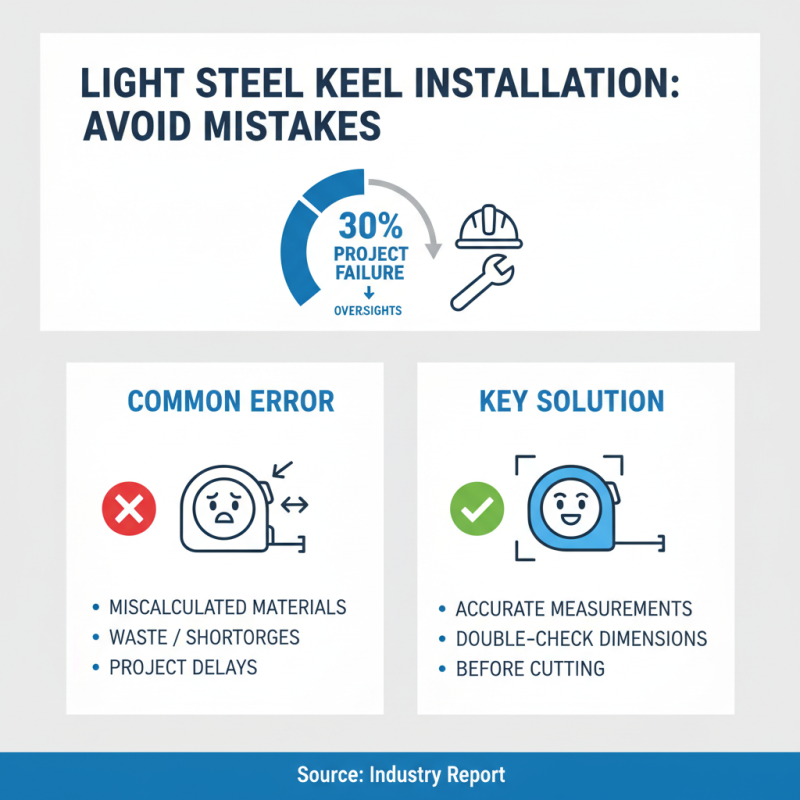
According to industry reports, improper measurements account for 30% of installation errors. It's vital to pay attention to detail to avoid such pitfalls.
Additionally, high-quality fasteners and connectors are essential. They must support the weight and stress the structure may face. Reports indicate that using subpar fasteners can lead to structural failures. Therefore, investing in correct materials pays off in the long run.
Always double-check specifications before starting.
Don’t forget safety equipment. Gloves, goggles, and hard hats protect against potential injuries.
Industry data shows that over 20% of construction injuries stem from inadequate safety gear. The installation process can often be messy. Planning and organizing your workspace can lead to a smoother experience. Remember, neglecting minor details can result in significant setbacks.
Step-by-Step Process for Installing Light Steel Keel
Installing light steel keels can be an intricate task. A meticulous step-by-step process is essential. Begin by ensuring that your working area is level. The floor's alignment significantly impacts the installation. A report by the Construction Industry Institute indicates that proper surface preparation can reduce installation errors by 30%.
After confirming the level surface, gather all necessary tools and materials. This includes steel keel tracks, screws, and a measuring tape. Measure the space accurately before cutting the steel keels. Overestimating or underestimating can lead to wasted materials and time. A survey by the Steel Framing Alliance notes that improper cutting accounts for 25% of installation delays.
Next, mark the positions for the keels on the floor and ceiling. Precision is crucial here, as any misalignment can cause structural issues later. Secure the keels firmly using screws at each marked point. Tightening the screws adequately is vital; loose fittings can compromise stability. Regularly check your progress with a level. This reinforces the axiom that patience and attentiveness yield better results. Mistakes in alignment are common, so don’t rush through this vital stage.