
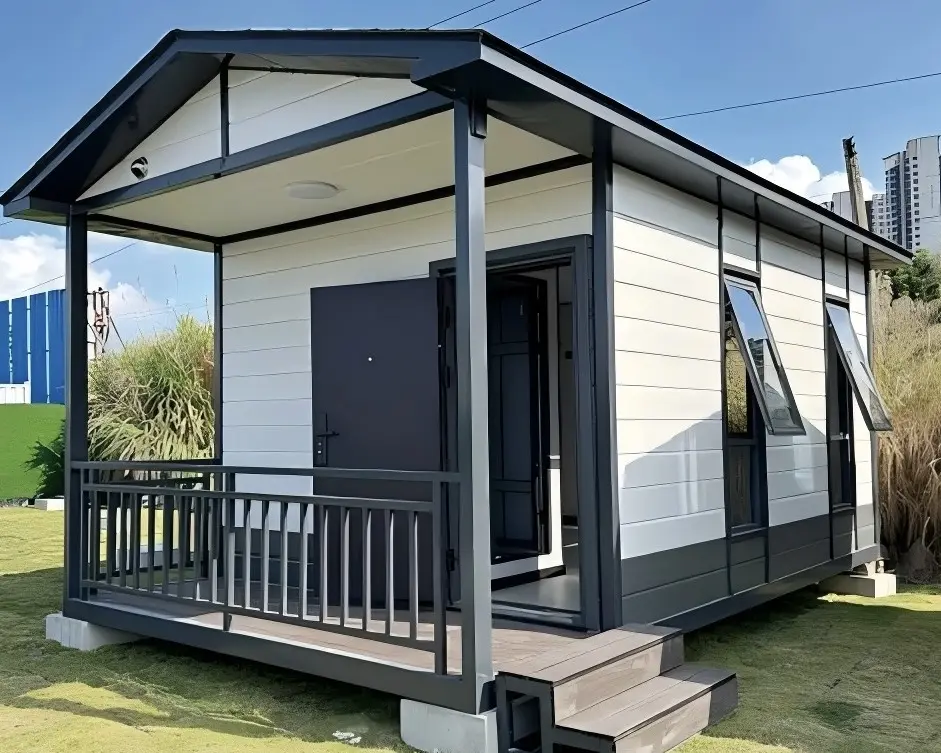

Gypsum Board Partition Wall and Ceiling Construction Guide and Key Points to Note
Gypsum Board partition wall construction: Standardized operation builds a stable foundation
Before the construction of gypsum board partition walls, it is necessary to do a good job in base treatment to ensure that the wall surface and Floor are flat, clean and free of protruding debris. First, carry out line marking and positioning. According to the design drawings, precisely mark the center line, edge line and keel installation line of the partition wall, and indicate the position of the door and window openings, providing a precise basis for subsequent construction.
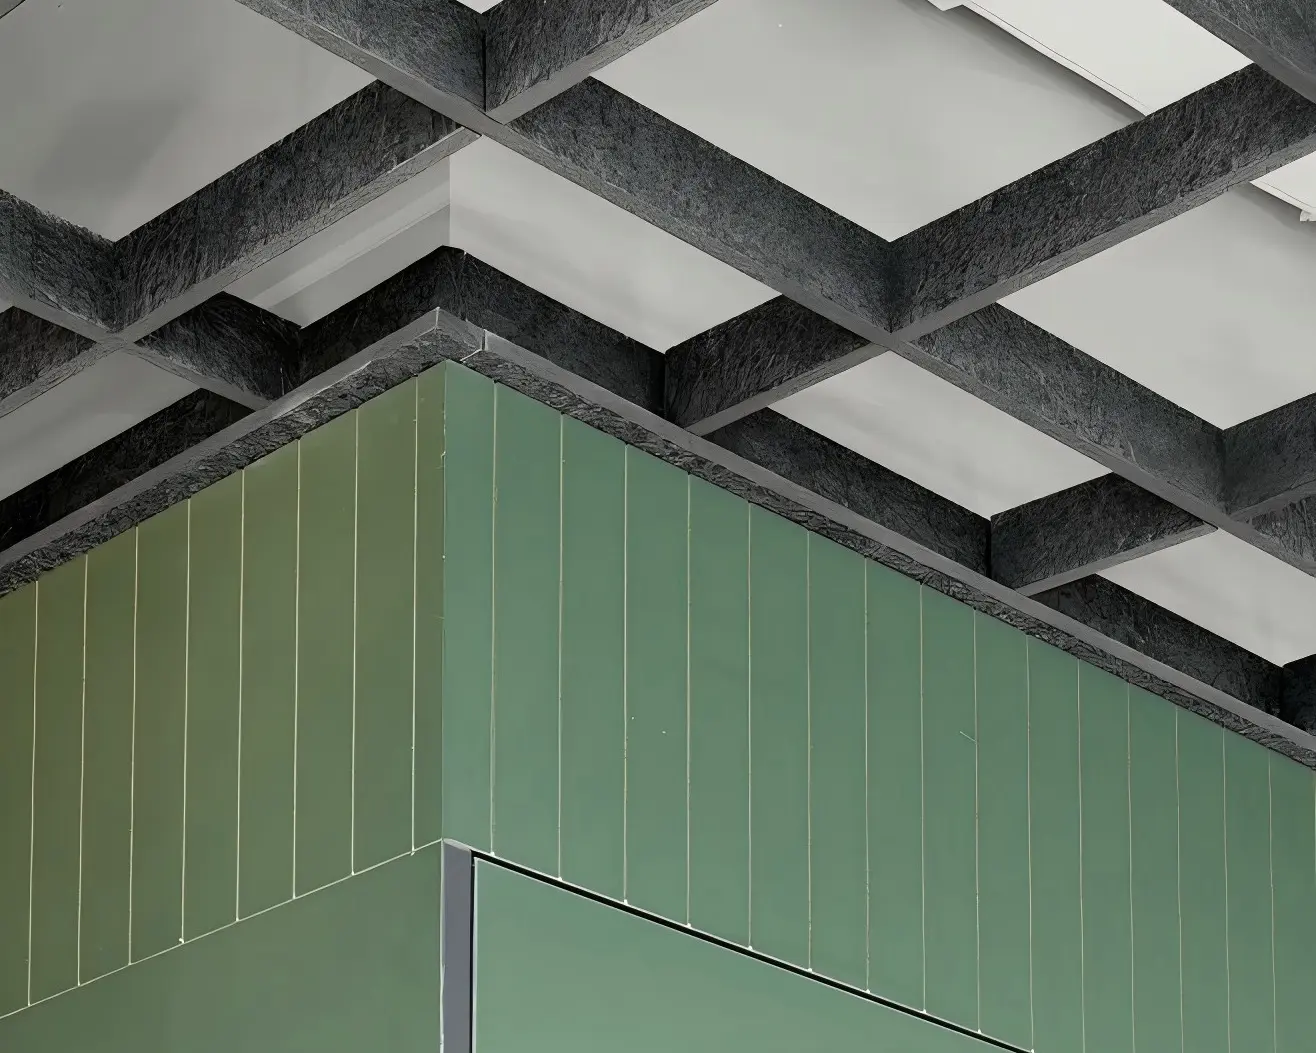
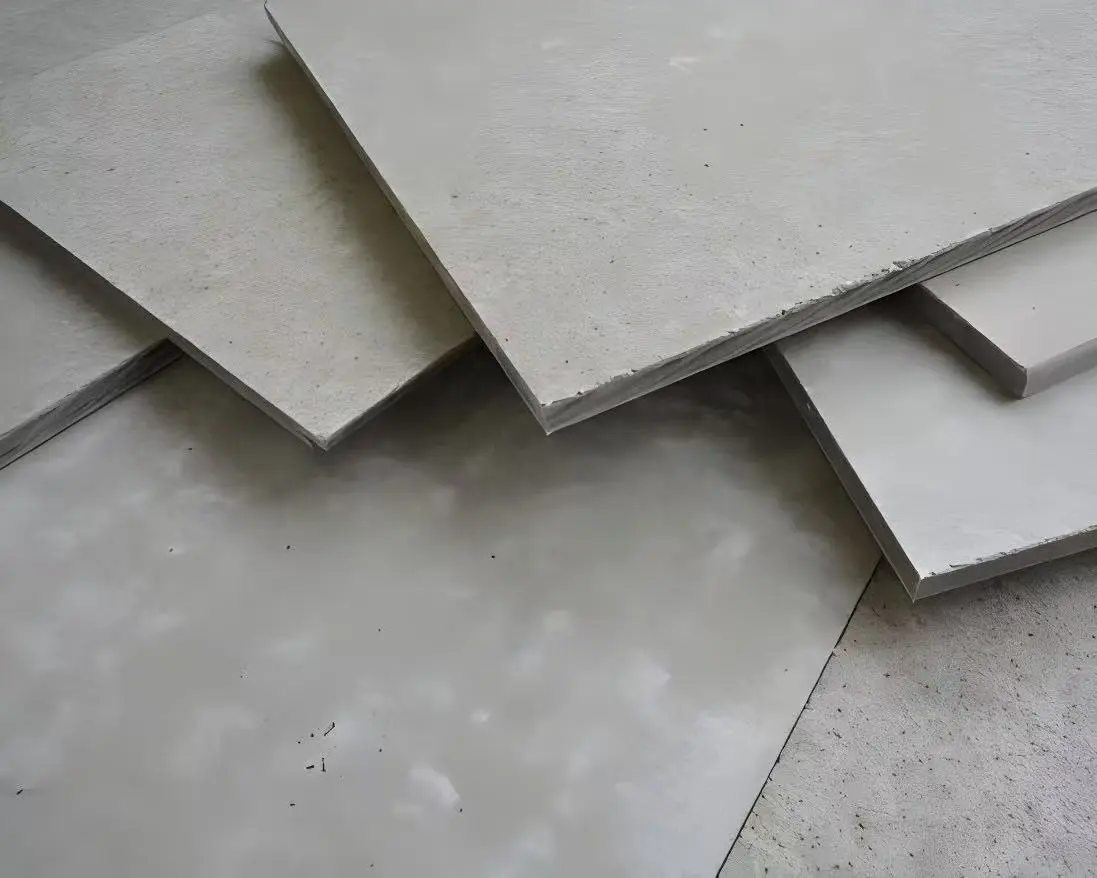
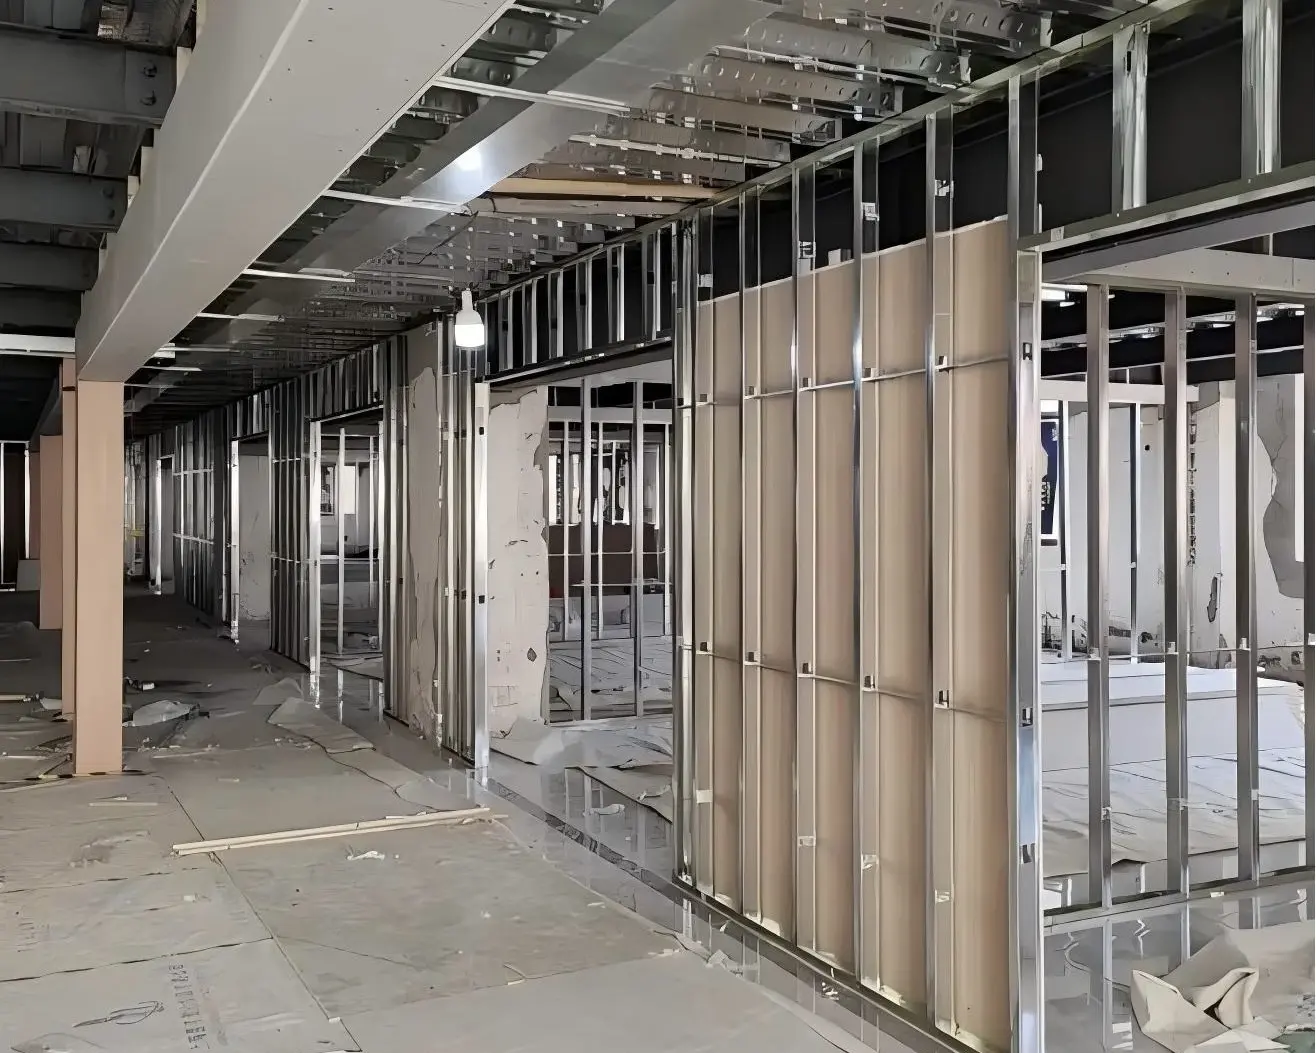
The installation of the keel is the key to the stability of the partition wall. Select Light Steel Keels or wooden keels that meet the load-bearing requirements, and fix the top and bottom keels along the marked lines. The spacing should be compatible with the width of the gypsum board, generally 600mm. When installing the vertical keel, it needs to be vertically corrected and firmly connected to the top and bottom keels. Reinforcing keels should be added at the door and window openings to enhance the overall stability. After the keel installation is completed, the gypsum board can be laid. Starting from one end of the partition wall, the long side of thegypsum board should be perpendicular to the vertical keel. A 3-5mm gap should be reserved between the boards for subsequent joint filling treatment. When fixing, self-tapping screws should be used, with the spacing controlled at 150-200mm. The screw heads should be slightly submerged in the board surface but not damage the paper surface.
Precautions for partition wall construction: The wooden keel needs to be treated for fire prevention and anti-corrosion in advance. In damp environments such as near bathrooms and kitchens, Gypsum Board Waterproof should be selected and properly sealed. When filling the gaps, special jointing paste should be used, combined with grid cloth or kraft paper to enhance crack resistance and prevent cracks from appearing later.
Gypsum board ceiling construction: Attention to detail ensures both beauty and durability
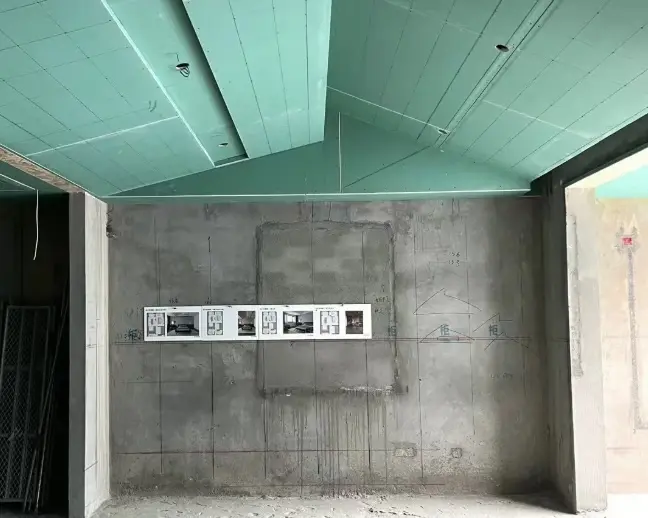
Before the construction of the gypsum board ceiling, it is necessary to confirm that the roof base is solid. After clearing the debris, mark the lines and determine the positions of the hangers, main keels and secondary keels. The spacing of the hangers should not exceed 1200mm. When the ceiling span is greater than 3m, the main keel should be arched at a ratio of 1/200 to prevent settlement in the later stage.
After the installation of the hangers is completed, fix the main keel, and then install the secondary keels and cross brace keels in sequence. The spacing of the secondary keels is usually 300-600mm, which matches the specifications of the Gypsum Wallboard. When laying gypsum boards, they should be spread from the center of the ceiling to the periphery, with the board joints staggered from the positions of the keel to avoid concentrated joints. When self-tapping screws are used for fixation, no nails should be driven at a distance of 15mm from the edge of the board to prevent cracking at the edge.
Precautions for ceiling construction: The installation of pipelines and equipment inside the ceiling must be completed in advance and fixed firmly. The joints of gypsum boards should be filled fully with jointing paste and anti-crack tape should be pasted on the surface.
The above are the core construction points of gypsum board partition walls and ceilings. If you encounter any questions during the construction process, please feel free to contact our technical service team at any time. We will provide one-on-one professional guidance to help you create a high-quality decoration project!